
How to Plan Hiking Route Stops Without Rushing
November 6, 2026
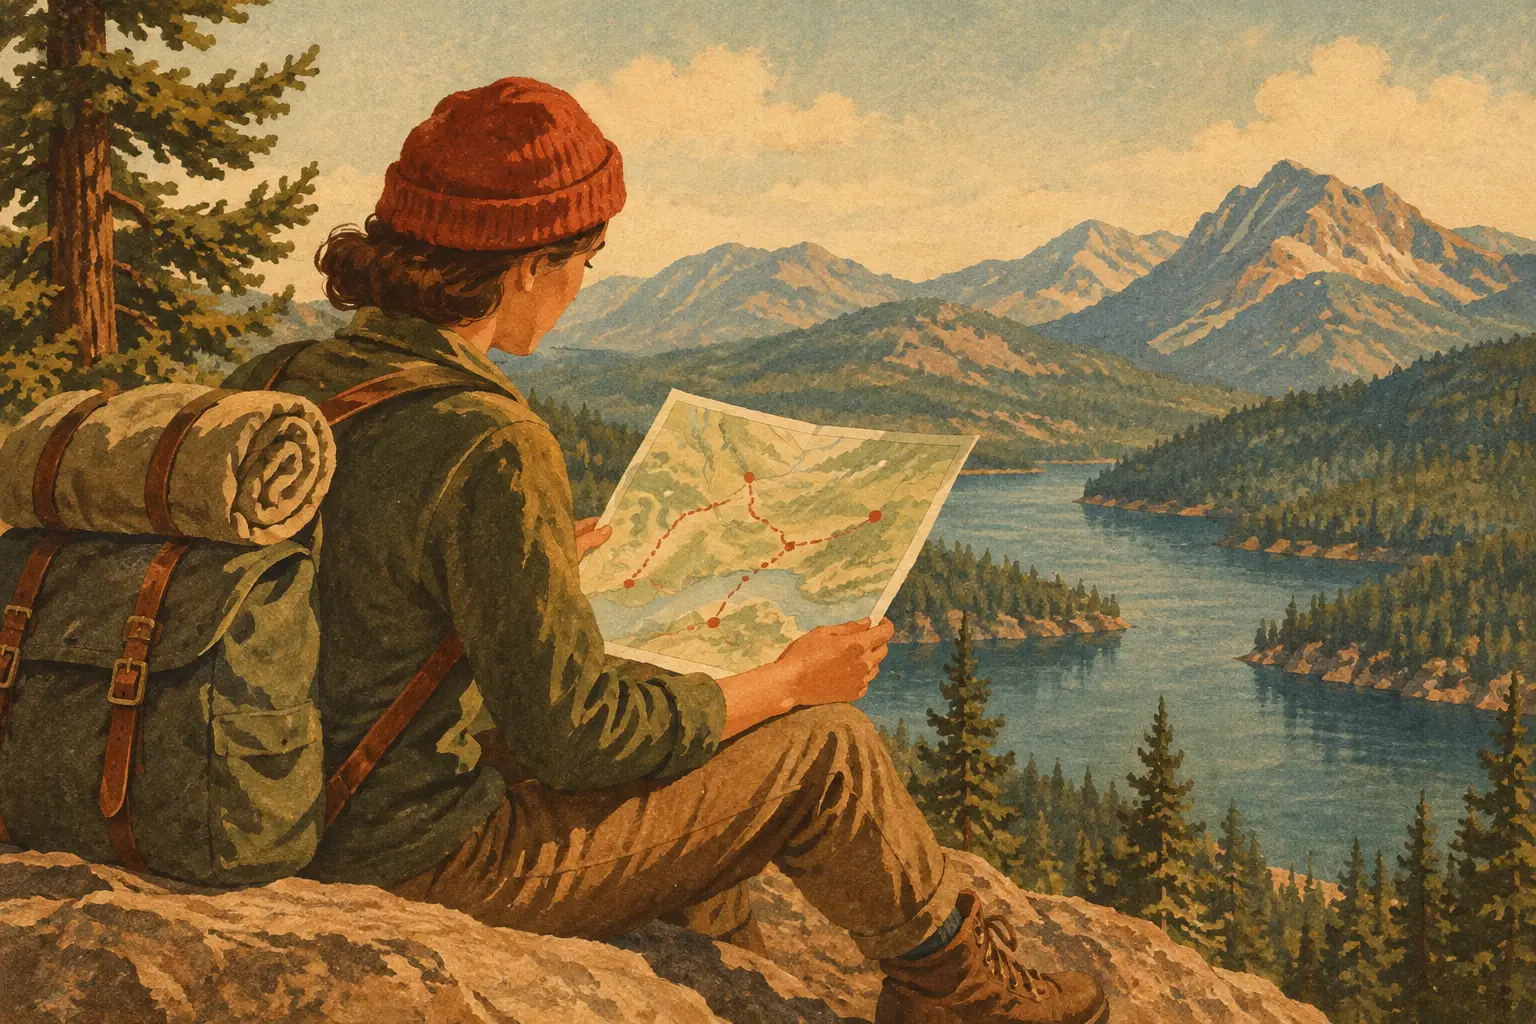
A great trail can feel completely different when you plan hiking route stops before your boots hit the dirt. The difference is rarely about packing more snacks. It is knowing where your group will refill water, pause for a view, regroup after a steep climb, and make a smart call if the weather shifts.
That little bit of planning keeps an adventure from turning into a string of hurried decisions. It also leaves more room for the good stuff: the overlook your friend will want to photograph, the creekside lunch that feels earned, and the post-hike spot where everyone recaps the day.
Start With the Trail's Real Rhythm
A route distance alone does not tell you how the day will feel. Six flat miles near home and six rocky miles with 2,000 feet of elevation gain require totally different stop plans. Before choosing where to pause, look at elevation, trail surface, expected weather, daylight, parking logistics, and the experience level of everyone coming along.
Think in effort blocks, not just miles. On a steep route, a short breather before the hardest climb can be more useful than waiting for the halfway point. On an exposed ridgeline, you may want to eat and layer up below the wind rather than forcing a scenic lunch stop where nobody is comfortable.
Your hiking route stops should match the kind of day you want. A fast training hike may need only water and navigation check-ins. A birthday hike, family outing, or friend-group adventure deserves more breathing room for photos, snacks, and the people who move at a different pace.
Use time estimates with a buffer
Start with the trail's stated time estimate, then adjust honestly. Add time for elevation, loose terrain, kids, heat, photo breaks, and a group that tends to stop often. A useful rule is to build in more margin than you think you need, especially when sunset, a timed reservation, or a long drive home is involved.
The goal is not to schedule every minute. It is to know which stops are flexible and which ones matter for safety. A water refill point might be non-negotiable. A waterfall detour might be optional if the group gets a late start.
Plan Hiking Route Stops Around Four Needs
The best stop plan gives each pause a purpose. You do not need a stop every half mile, but you do need to avoid discovering a problem when everyone is already tired, thirsty, or off route.
1. Water and fuel
Mark reliable water sources only if you know they are seasonal conditions you can verify and you have a proper treatment method. Never assume a blue line on a map means flowing, drinkable water. If the route has no dependable refill point, carry enough from the start and factor the added weight into your pacing.
For food, plan a quick snack stop before the energy dip, not after it. On a longer hike, a real lunch break works best at a sheltered spot with enough room for the group to settle without blocking the trail. Save the summit snack for the summit if that is part of the fun, but do not make it your only fuel plan.
2. Views, landmarks, and photo moments
Scenic stops make a route memorable, but they can also create bottlenecks. A narrow summit or popular waterfall may not be the best place for a 30-minute break on a busy Saturday. Mark the landmark, then identify a nearby quieter spot for the longer pause.
This is especially helpful for groups with different priorities. Your friend chasing Insta-worthy content gets their overlook moment. The person who wants to keep moving knows when the group will be back on trail. Nobody has to negotiate every stop in the middle of the hike.
3. Navigation and regroup points
Choose clear landmarks where everyone can reconnect: a signed junction, bridge, trail shelter, or major viewpoint. These are useful after stretches where the trail becomes confusing or the group naturally spreads out.
A regroup point is not permission to separate without a plan. Set expectations before starting: whether anyone hikes ahead, how far, and what happens if there is no cell service. A simple rule such as "wait at every signed junction" can prevent a surprisingly stressful afternoon.
4. Comfort, weather, and exit options
Restrooms, shaded areas, wind-protected breaks, and bailout trails may not be glamorous map pins, but they are often the stops that save the day. On hot routes, shade can matter more than a dramatic vista. In cold or wet conditions, a protected place to add layers and eat can make the whole group happier.
Also note the fastest reasonable exit if someone is hurt, weather rolls in, or the pace is slower than expected. An exit route is not pessimistic. It is the kind of preparation that lets everyone enjoy the adventure with more confidence.
Build a Route That Works on a Phone
A hiking plan only helps if you can actually use it at the trailhead. Keep the route, parking location, start time, reservations, emergency contacts, and key stops in one shared place. Screenshots scattered across a group chat are easy to lose when somebody asks, "Which lot are we meeting at?"
Map your stops in order and label them clearly: trailhead, first water break, junction check, lunch, summit, turnaround deadline, and post-hike food. A visual route makes the day easier to understand than a long note full of coordinates. If a stop is optional, label it that way so it does not quietly become an obligation.
Plan WeGo can keep the hike alongside the drive, lodging, restaurant reservation, and the rest of a weekend itinerary, so the route does not live separately from the trip around it. Invite your hiking crew early, then let everyone see the plan without chasing down the latest version in text messages.
Plan the turnaround before you start
A turnaround time is one of the smartest route stops you can set, particularly on out-and-back trails. It protects your return window even if you do not reach the intended destination. This is not failing to finish. It is choosing daylight, energy, and good judgment over a summit photo.
Set the time based on when you need to be back at the trailhead, then work backward. Account for the descent, which can take longer than expected on slick or rocky terrain. If your group hits the turnaround point early, great - you have earned extra time to enjoy the view.
Keep the Plan Flexible on Trail
Conditions get the final vote. A route that looked easy on a sunny forecast can change with mud, heat, snow, crowds, smoke, or a slower-than-expected group pace. Check in at your planned stops and ask a simple question: are we still feeling good about the next section?
Use those moments to make small adjustments early. Take a longer water break. Skip a side trail. Move lunch to a lower, more sheltered location. Turn around before the exposed section if thunder is building. These choices are easier when your group already knows which stops are priorities and which ones are nice-to-haves.
It also helps to protect the vibe. Not every pause has to be efficient. A spontaneous stop to watch a hawk circle above the valley or take a group photo can become the detail everyone remembers. The plan is there to remove uncertainty, not to turn a hike into a timed obstacle course.
After the Trail, Save What Actually Worked
When the hike is fresh, make a few notes for next time. Was the parking lot full by 8:30? Did the water source run dry? Was the lunch spot too windy? Did the route take an hour longer than expected? Those details are more valuable than a generic trail description because they reflect how your group actually travels.
Save your favorite views, trailhead photos, and the post-hike taco stop with the route. Then the next person planning a weekend escape has something better than a pin drop: a real, shareable trail story with the stops that made the day work.
The best hiking days still leave room for surprise. Plan the stops that keep everyone safe and moving, then let the trail handle the rest.